DIY Smart Home Control Panel: Installing Your Smart Control Panel
In the era of home automation, the smart control panel stands as the cornerstone of a connected, efficient, and secure home. For those intrigued by the prospect of transforming their living space into a smart home, installing a smart home control panel is the first critical step. This guide will walk you through selecting the right smart control panel for your needs and provide a detailed DIY installation process.
Selecting the Best Smart Home Control Panel for your smart home
Before diving into the installation, it’s crucial to choose a smart control panel that best fits your home automation needs. Consider the following factors:
- Compatibility: Ensure the control panel is compatible with the smart devices that you already own or plan to purchase, such as lights, thermostats, cameras, and security systems.
- User Interface: Look for a panel with an intuitive interface, making it easy for all family members to use. Trust me.
- Connectivity: Opt for a control panel that supports various connectivity options like Wi-Fi, Bluetooth, Z-Wave, or Zigbee, to ensure seamless integration with a wide range of devices.
- Features: Prioritize panels offering features you value, such as voice control integration with assistants like Alexa or Google Assistant, mobile app control, and customization options. You will save lot of time!
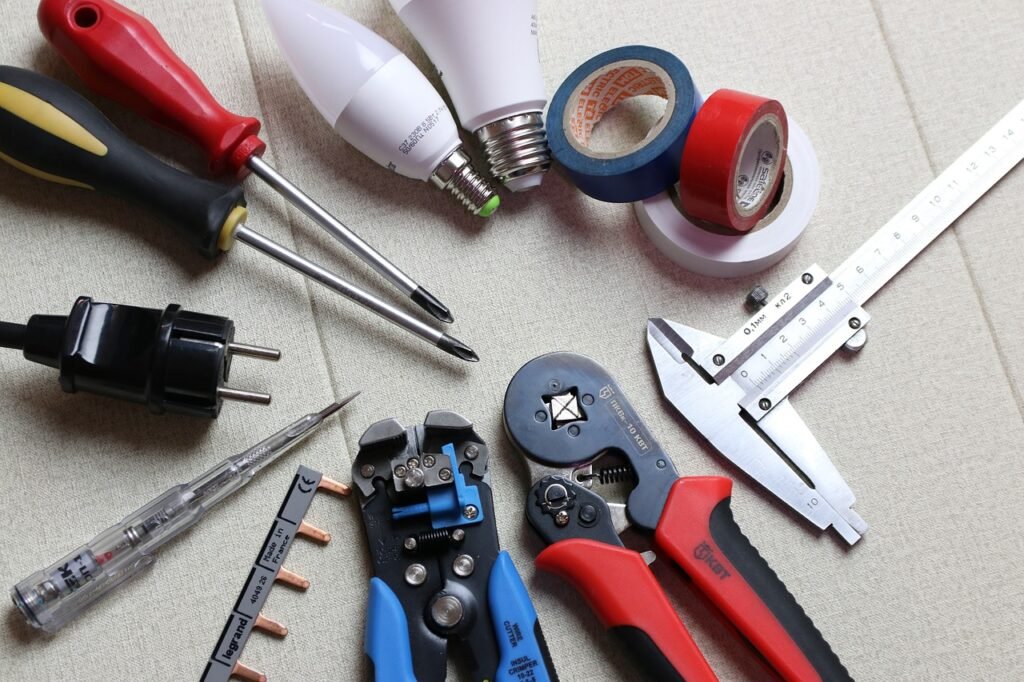
Tools and Materials Needed to installation
- Smart control panel
- Screwdriver set
- Drill (if required for mounting)
- Wall anchors and screws (usually included with the panel)
- Level (for ensuring the panel is mounted straight)
Step-by-Step Installation Guide
- Plan Your Installation:
- Decide on the best location for your smart control panel. It should be easily accessible, within good Wi-Fi range, and, if possible, near a power source to avoid visible wires.
- Mounting the Panel:
- If your control panel is designed for wall mounting, use a level to mark the drill points, ensuring the device will be perfectly horizontal.
- Drill holes at the marked points, insert the wall anchors, and then screw the mounting bracket into place.
- Attach your smart control panel to the mounting bracket according to the manufacturer’s instructions. For desk-mounted models, simply place the panel where it’s most convenient.
- Power and Connectivity:
- Connect your control panel to the power supply. If it’s battery-operated, ensure it’s fully charged or has fresh batteries.
- Follow the manufacturer’s instructions to connect the panel to your home Wi-Fi network. This step is crucial for enabling remote control and integration with other smart devices.
- Device Integration:
- Begin integrating your smart devices with the control panel. This process varies widely, so consult the user manuals for both your control panel and the devices you’re connecting.
- Typically, you’ll need to put your smart devices into pairing mode and use the control panel’s interface to discover and connect to each device.
- Configuration and Customization:
- Once all devices are connected, customize settings according to your preferences. This could include setting up scenes, schedules, and automations, like turning off all lights when you arm the security system at night.
- Explore the control panel’s app, if available, to manage your smart home system remotely.
- Testing:
- Test the functionality of each connected device through the control panel to ensure everything is working correctly. Adjust settings as needed until you’re satisfied with the system’s performance.
Final Thoughts
Installing a smart control panel is a rewarding project that brings the future of home management into your hands. By following these steps, you’ll not only enhance your home’s intelligence but also gain a deeper understanding of your smart home ecosystem. Remember, the key to a successful DIY installation is preparation, patience, and attention to detail. Once installed, you will enjoy the unparalleled convenience and efficiency that comes with a connected smart home.

Leave a comment